
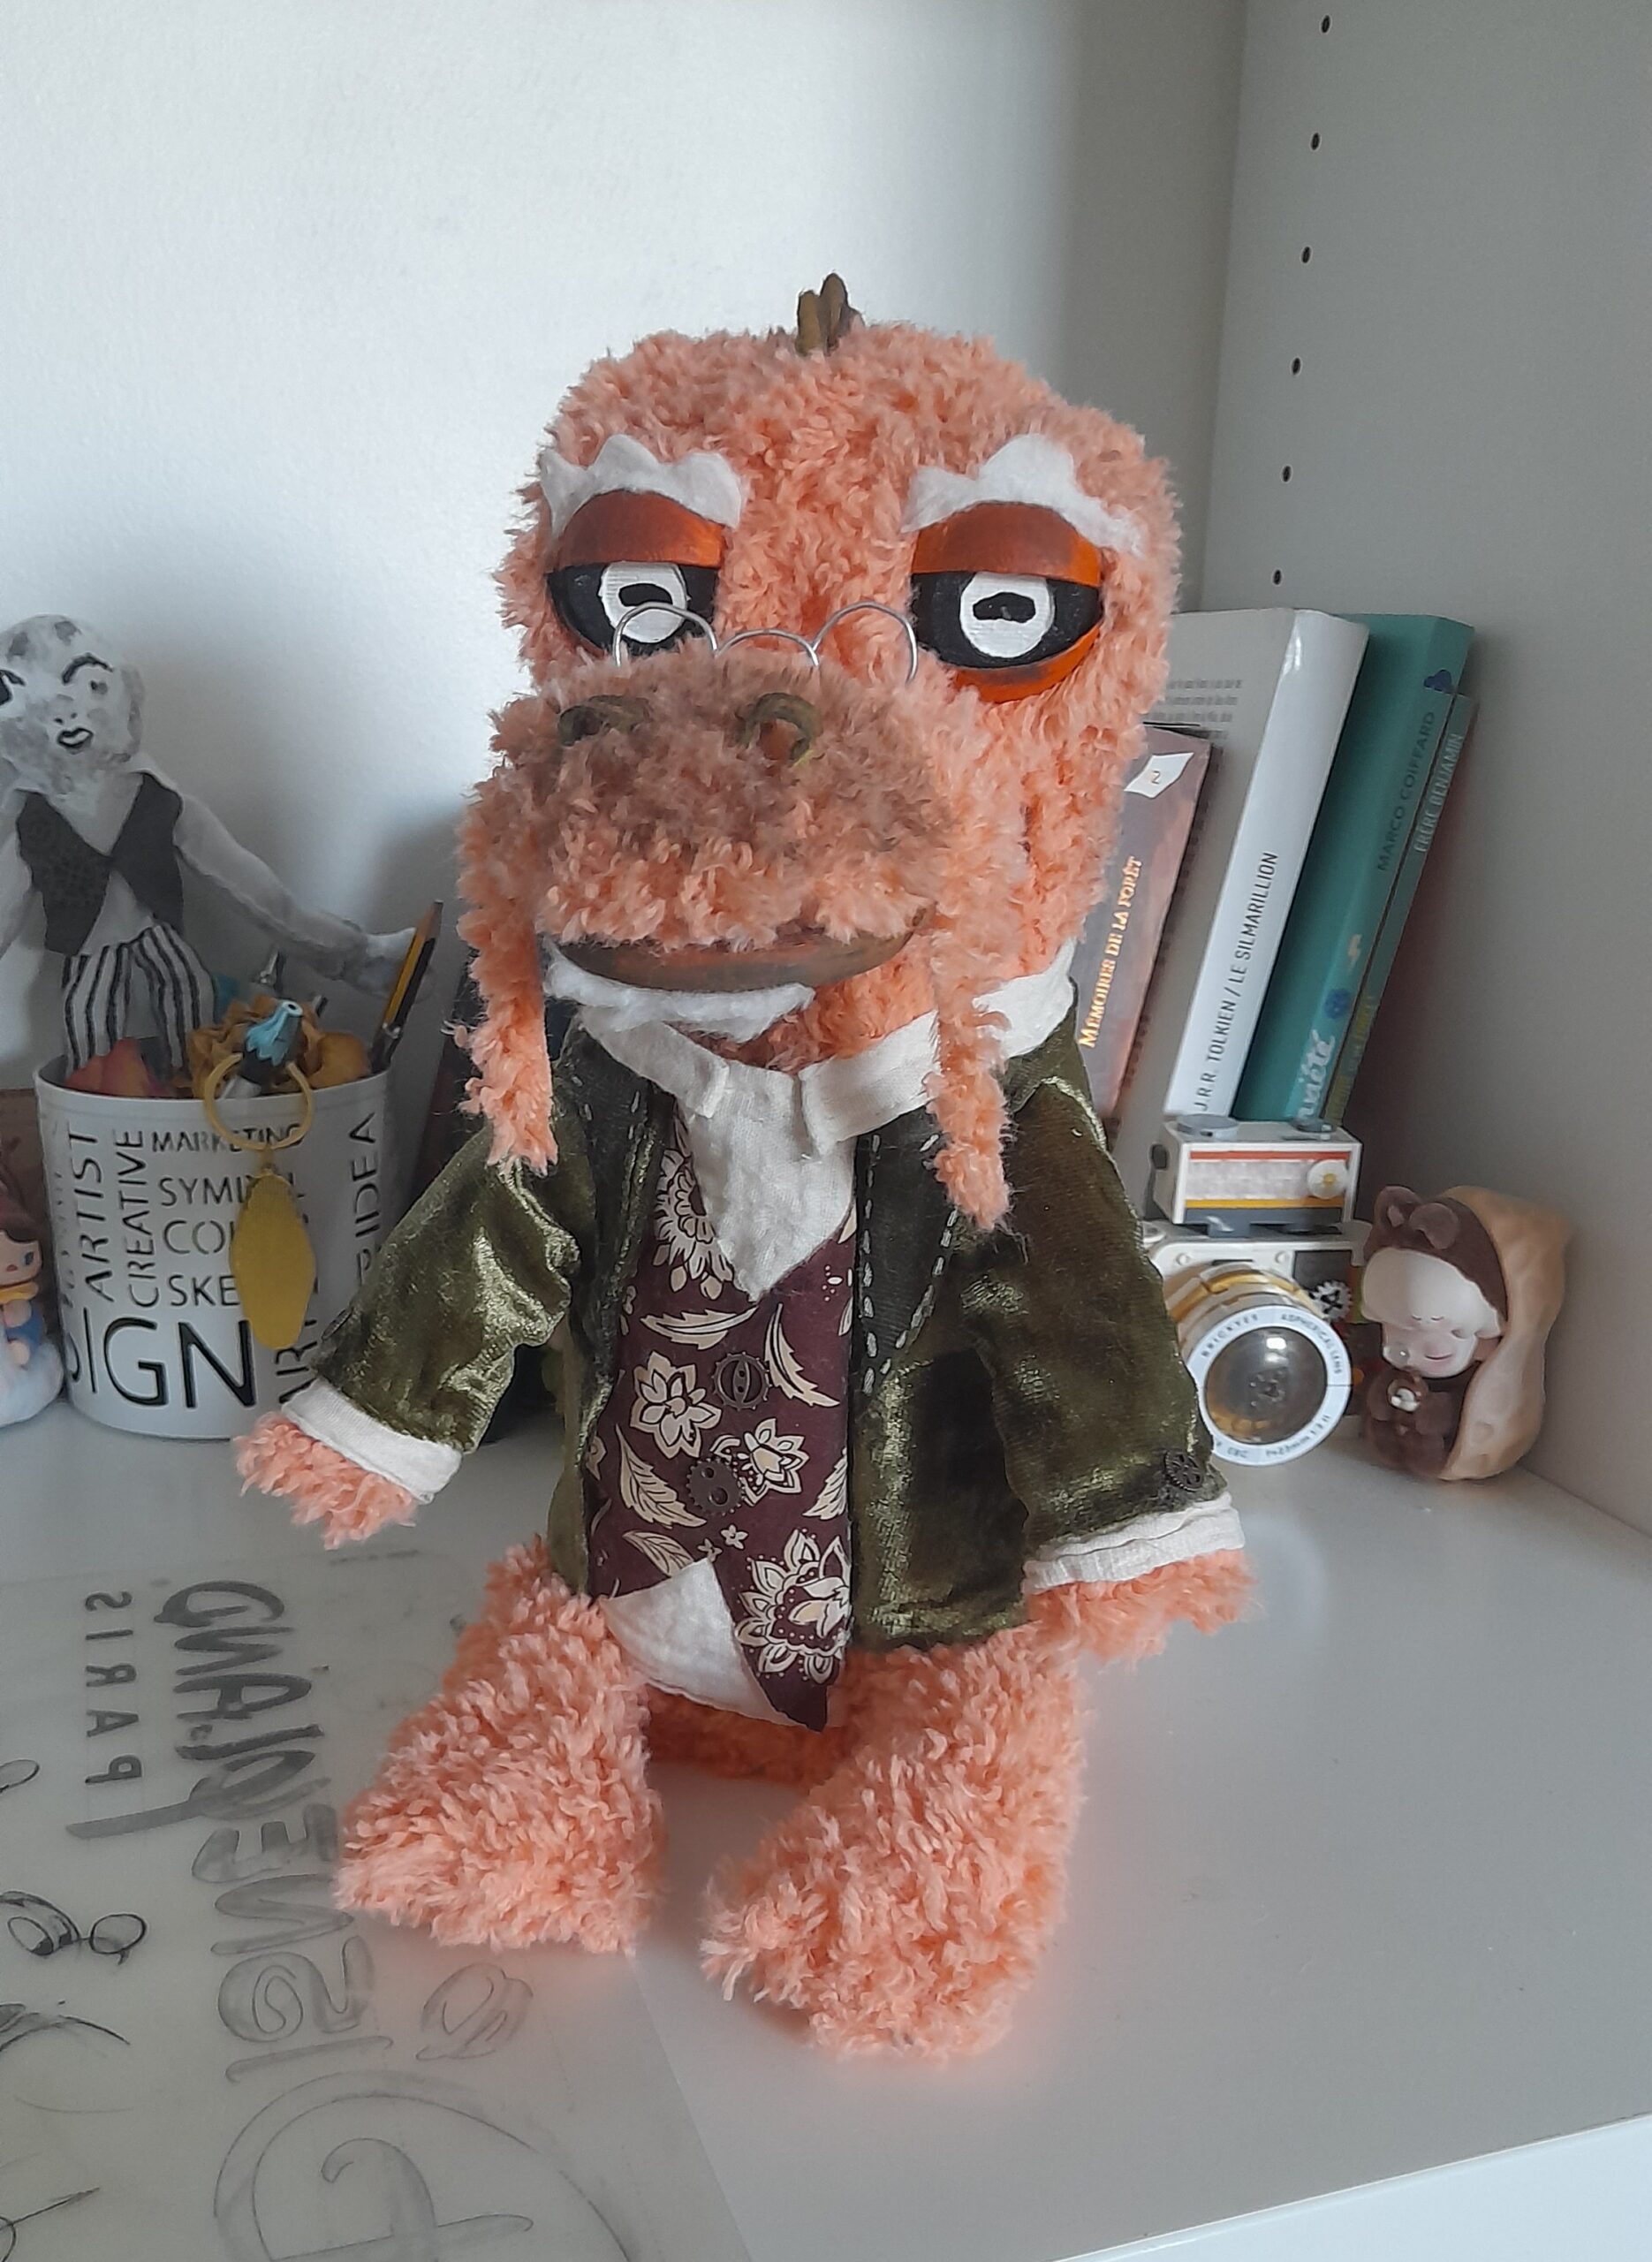
Now that we have an initial version of Spino’s artificial intelligence, it’s time to bring it to life! Today, we’re tackling the physical side of the robot and finishing up the audio processing.
To develop our robot, we must therefore address two very different parts:
- The animation part 👀
- The audio part🔊
And we will add a few APIs to enrich the responses.
👋Let’s start with the animation part animation ! 👀
First of all, I retrieve and 3D-print a 3-servo model for Spino’s eyes. This provides me with a foundation for animation. I also take the opportunity to create a mouth, as well as an overall structure for the robot in Blender—designed to house all the modules—which I then 3D print.
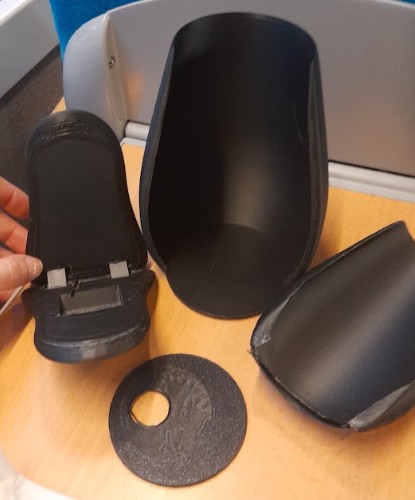
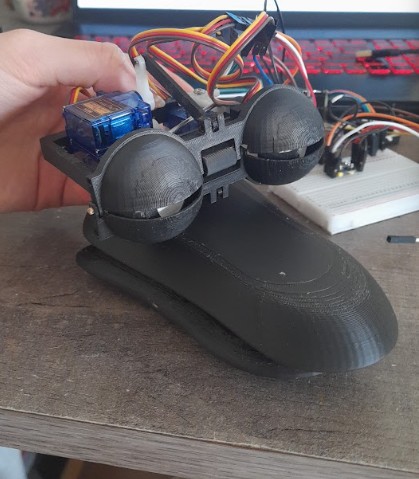
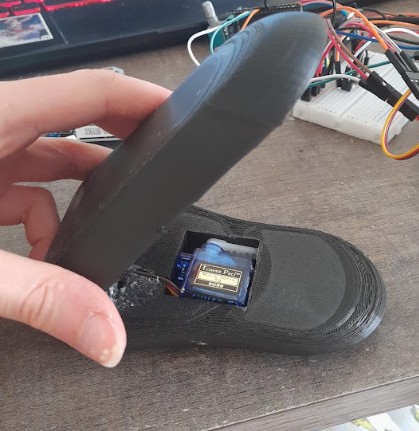
Now, let’s connect the servos. An important point: the ESP32 operates at around 3.3V. Since we need 4 servos (I ultimately decided against the neck joints—it was too much for a first project), we will use an external power supply.
🪛So, let’s start with the wiring by connecting the power supply to the servos and the ESP32. I ultimately opted for a 5V 5A power adapter instead of a battery, as the battery was draining too quickly. It’s great now—I can leave it powered on for hours, and it works perfectly.
Once the wiring is complete, you end up with a positive rail—to which the positive leads of the servos and the 5V pin of the ESP32 are connected—and a negative rail, which connects the ground (GND) terminals of the voltage regulator, the servos, and the ESP32. I connect the orange wires from the servos (which carry the signal) to the pins on the ESP32.
🔗Some resources that helped me manage the wiring part:
🖥️ Once everything is connected, it’s time to bring it to life. To do this, I install the ESP32 libraries in the Arduino IDE and test the servos. I had ordered 360° servos "just in case," but I quickly realized they weren't true servos in the strict sense. With 360° models, you can't control an exact angle—only the speed of forward or backward rotation—which results in small, incremental movements. That’s not ideal when the 3D-printed structure limits the range of motion. In the end, I bought proper, precise 180° servos, and that made a world of difference! I tested the minimum and maximum angles for each one, allowing me to control the eyelids, mouth, and other features in different ways depending on the "mood" I want to convey.
Now, let’s return to the Python code to extract the general mood from each of the robot’s responses. Since I ask it to include emojis in its replies, I will extract them individually to calculate an overall mood score (neutral, happy, surprised, or suspicious—the latter two are primarily for the purpose of prediction).
Extruding a mood makes it possible to map animations by sending Python code to the Arduino code via a PySerial library.


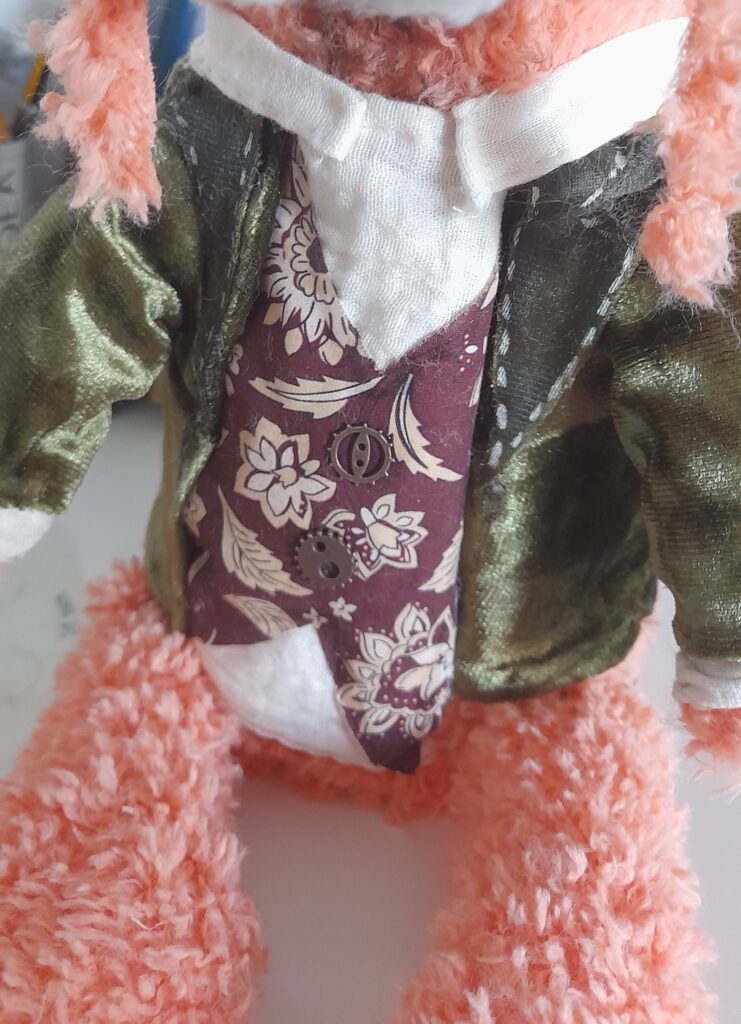
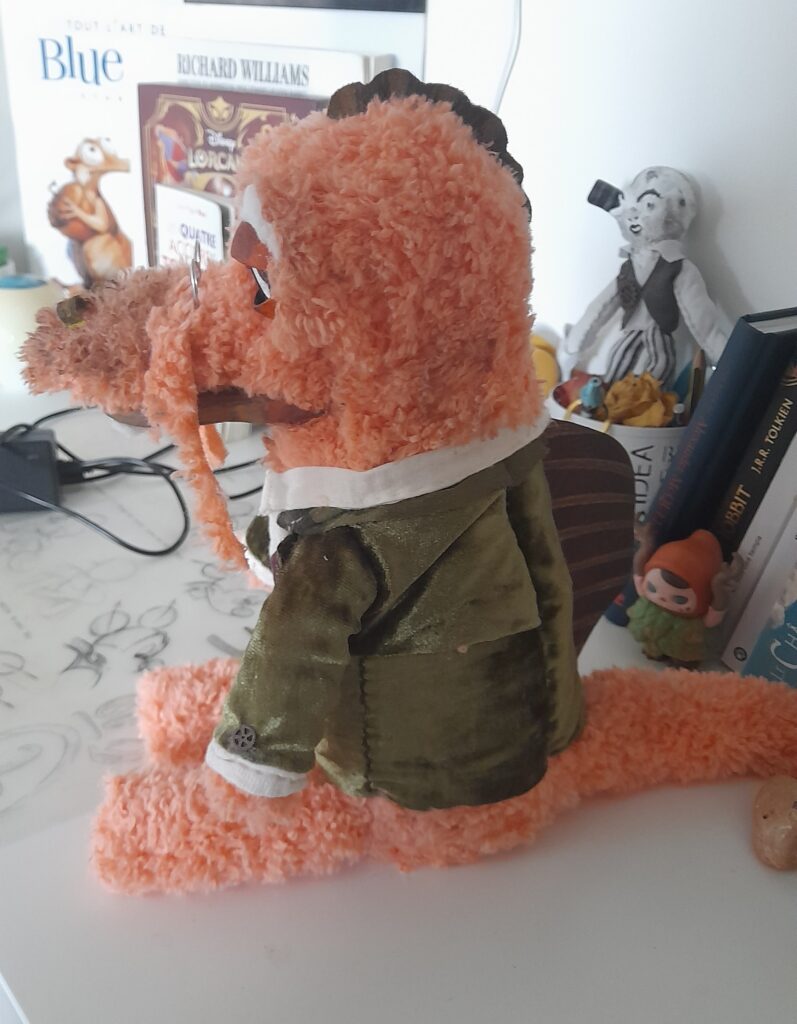
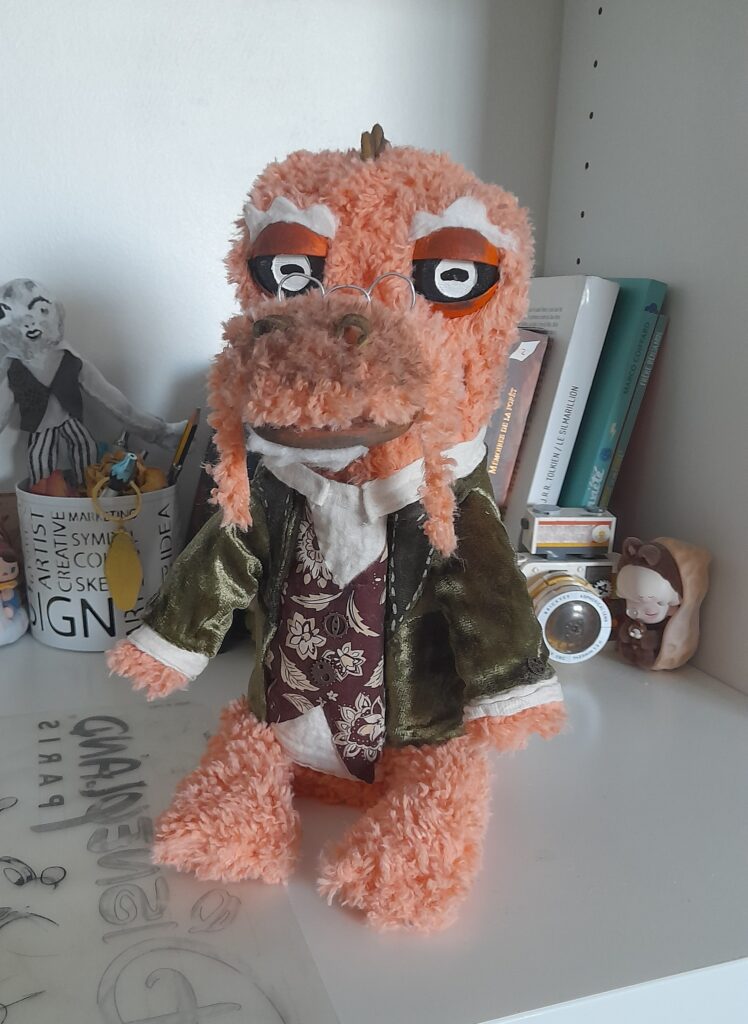
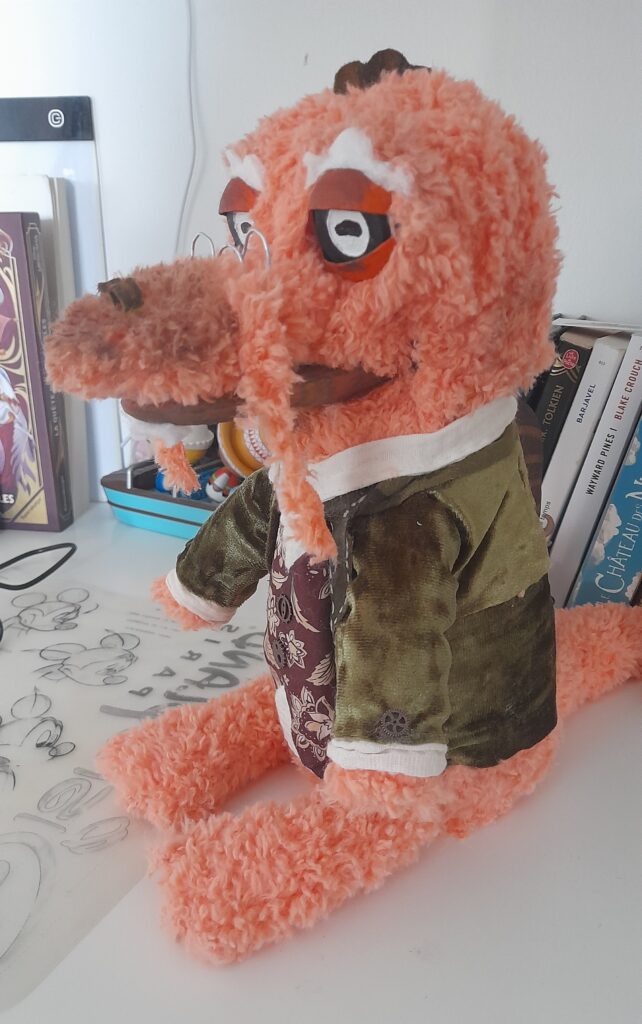
Let’s return to Spino’s physical structure. With the modules properly inserted into the 3D-printed housing, it’s time to cover it in fabric. In a previous post, I mentioned that my primary visual inspiration was the world of Jim Henson; consequently, Spino is heavily modeled after *The Muppet Show*! I’m attaching plush fabric (reminiscent of Fozzie Bear) to the structure, while drawing inspiration from Uncle Deadly for the rest. I’m also sewing on arms and legs, and adding a papier-mâché dorsal fin, as well as another fin on the head. Finally, I’m repurposing scraps of fabric to create a velvet jacket, a shirt, and a waistcoat.
🗣️Let’s move on to audio now!
🗣️➡️✏️I am installing in my Python project OpenAI’s faster-whisper module. This model is open source, and the speech to text will allow for the transcription of audio into text—quite quickly, and, importantly, without consuming many of my laptop’s resources 🥲. Once integrated into my main codebase, I’ll make a few adjustments to get it working properly (selecting the microphone, setting the buffer size, defining thresholds, etc.) so I can run tests from my laptop and verify that I’m able to cut off the robot’s response if I start speaking at the same time.
After testing several models, I’m opting for the "small" model, which—while longer than the "tiny" one—is quite accurate. Most proper nouns are correctly identified, and the internal knowledge is fairly precise.
✏️➡️🗣️Now it's time to install a text-to-speech module to get Spino talking. After a few comparisons, I chose Piper Voice which offers a wider selection of French voices than other modules. I take the written response from my router, along with the chosen voice model, and pass them into a `speak()` function that converts the text response into a `.wav` audio file. The file is played and then instantly deleted—this happens for every single response.
Once the code is written, I connect my audio components: the speaker, the PAM8403 potentiometer (for volume adjustment), and the ESP32. All these components are tucked inside the robot. As for the microphone, after several tests, I decide to stick with the PC’s built-in microphone, as it offers better quality than the components I tested. Eventually, it might be worth sourcing a small, higher-quality microphone and placing it in the assistant’s hand (to avoid picking up the muffled noise caused by the robot’s internal walls).
Since the speaker operates via Bluetooth, there’s no need to overcomplicate things—I just pull the signal from the PC. While it could eventually function independently, that’s not a priority feature for now.
✨A few additions to pimp out Spino
Now that the robot is essentially complete, I’m taking the opportunity to add a DuckDuckGo Search API—an idea that came to me after watching this great video which I trigger by starting a sentence with the word "Search...". As a result, the bot handles current events much better, with fewer hallucinations. I’ve been testing it with topics that are relatively niche and up-to-date, and I’m quite surprised by the quality!


I am also integrating the Spotify API to allow for voice-activated track playback. After some testing, I’ve decided to have the robot identify the artist first, and then locate the corresponding track. This logic prevents the robot from struggling with the specific spelling of a song title—which could otherwise lead to "hallucinations" (incorrect or nonsensical outputs). I am also adding controls to manage volume, as well as options to pause or stop playback.
Finally, just for fun, I'm testing a "Psychic Reading" mode by retrieving a .txt file with predictions from fortune cookies and integrates them into the project. Since it’s super easy to modify, I can add more at any time and build my own database of several hundred predictions. A simple random formula selects a line number and retrieves the corresponding prediction, without needing to go through the AI (which means very low latency!).
As needs arise, I could also add other APIs—such as controls for connected devices or a tracker to monitor the status of a given website—but one must also know when to stop.
🔍Final result and conclusion
And there you have it! After a year of work, the animated assistant comes to life.
Some reflections regarding the robot and the process:
- To begin with, taking on such an ambitious project is as rewarding as it is frustrating. It’s a good thing I didn’t know what I was getting myself into—otherwise, I never would have seen it through to the end! But this long journey allowed me to acquire new skills (especially in electronics, as I was a complete beginner) and to work at my own pace—adapting the project as the months went by—without ever losing my enthusiasm for it.
- One must know when to stop. It is quite easy—when you know that you can do anything—to want to do it all. to do everything perfectly, but staying true to the original objective is paramount. Furthermore, coming to terms with the limitations of the modules I’m integrating has been a challenge (latency, a slight risk of hallucinations, constraints on servo animations… but that’s all part of the game!)
Anyway, while waiting for another big project, I’m returning to smaller crafty projects! Perhaps a set design and a costume are in the works 👀.


Leave a Reply